20 Sovereign Tower Tips
Practical habits for quests, knights, annexes, and rewinds after the August 2026 launch
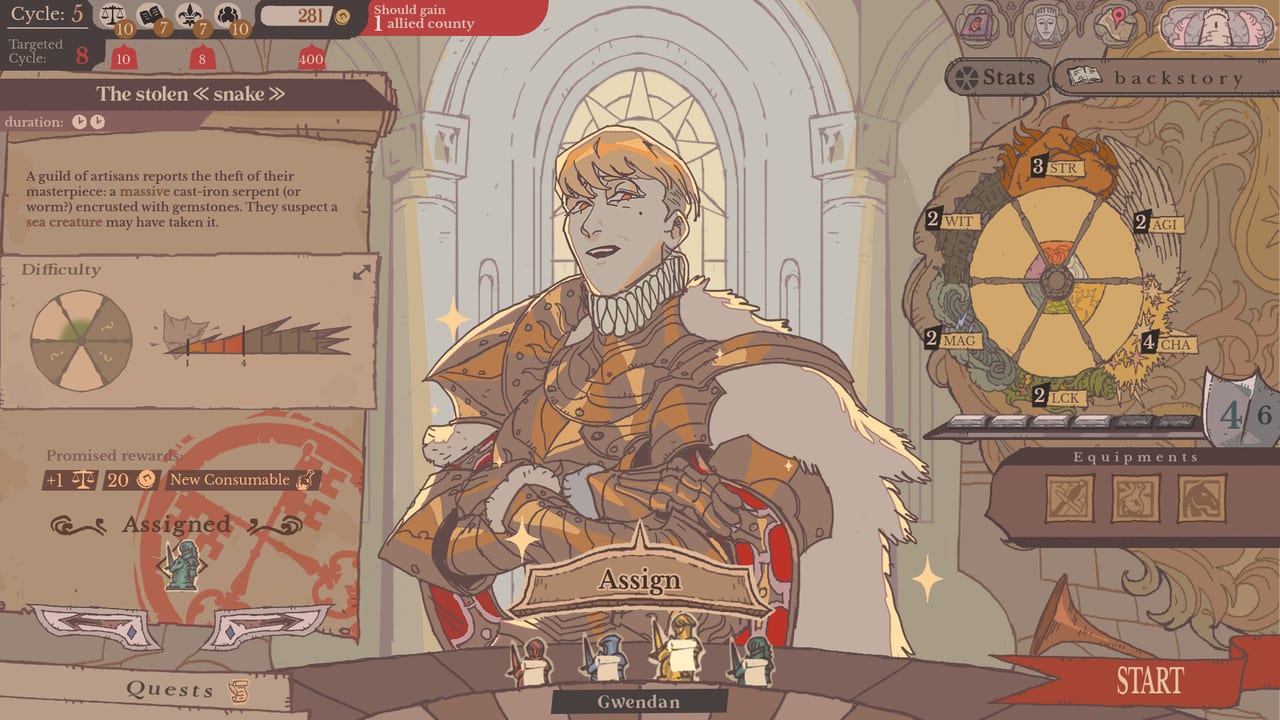
Most Sovereign Tower failures are not bad luck — they are rushed mornings. Wild Wits and Curve Games launched this solo Round Table RPG on August 6, 2026, and the loop still rewards rulers who slow down before every commitment: read the full petition, keep a Treasury cushion, compare all listed knight stats, check known attributes and satisfaction, then learn from the result before you open the Demon. These twenty tips compress launch-week community habits into one checklist you can keep beside How to Play and Quest Scoring Explained.
Pair this page with Difficulty Tips for first-run pacing and Quest Success Tips when a red-border card is already on the table.
1. Read every Audience choice as a trade-off
An Audience decision can move Merchants, Mystics, Scholars, Nobles, the People, or the Treasury. Identify who gains, who may object, and what the immediate cost is before choosing the most attractive line. Details live on Audience Chamber.
2. Keep a Treasury buffer
Petitions are not the only calls on your gold. Equipment, forge repairs, annex rooms, Kitchen snacks, and later crises compete for the same reserve. A small cushion preserves options when the next emergency appears — especially after Patch 1.0.8 cheapened forge repairs but did not make gold free.
3. Separate public approval from knight satisfaction
Population groups and knights are different pressures. A politically useful decision may still upset a knight, while a satisfying assignment is not automatically the best answer for the kingdom. Track both with Factions and Knight Loyalty.
4. Compare every quest stat — including Luck
Strength, Agility, Charisma, Magic, Wits, and Luck can all appear on cards. Build a shortlist from the visible requirements rather than one impressive number. Party averages matter more than a single superstar — see Quest Scoring and Knight Stats.
5. Treat hidden attributes as information
Positive and negative attributes often begin hidden. When a result reveals one, write it down and reuse it. Lady Alwena’s Intendancy scan is the cleanest daily reveal — Intendant Guide.
6. Do not confuse preferences with performance traits
A preference affects whether a knight stays satisfied; an efficient trait changes the quest score by a flat +1 or −1. Preferences do not prove a knight is the best performer. Keep likes, dislikes, and score traits separate on Attributes.
7. Use equipment and annex items as support
Forge weapons, alchemy potions, mounts, and relics can supply missing traits or push borderline averages. Craft because the next card shows a real gap — not because the annex menu is open. Timing notes: Annexes.
8. Investigate unexpected outcomes
An Unexpected Outcome often depends on a specific knight–quest pairing. Record the pairing before you celebrate or panic. Special outcomes can replace normal gold and satisfaction — details on Quest Outcomes.
9. Learn before you rewind
The Demon preserves learned knowledge. Before abandoning a timeline, name what you learned: a hidden attribute, a poor pairing, a relationship consequence, or a better audience line. Then rewind once with a plan — Time Rewind.
10. Treat community routes as examples
Branching choices mean one creator’s successful timeline is not universal. Use videos to see the interface, then verify conditions in your current build and patch notes on Updates.
11. Check availability before planning the perfect party
A strong knight cannot solve a quest while away on a multi-cycle card. Confirm the current roster before spending gold to support a plan you cannot field. Multi-day collisions are covered on Quest Outcomes.
12. Change one factor after a failed quest
If you replace the knight, the meal, the gear, and the earlier audience choice together, the next result teaches you nothing. Change one meaningful factor so the comparison stays useful after a rewind.
13. Use Alwena to reduce uncertainty
Alwena gathers private details about knights and can also volunteer at the Round Table when everyone else is out — leave a free seat. Recruitment steps: How to Get Alwena.
14. Use the Forge against a specific problem
Carina crafts weapons and shields and repairs damaged armour. Check the next assignment and the selected knight first; craft to support a known need. Patch 1.0.8 reduced repair costs — still spend with intention.
15. Save alchemy boosts for a known weak point
Belladona’s potions temporarily improve knight stats. Read the item text and use a boost where the visible requirements show a real gap rather than dosing every knight every cycle.
16. Decide your recruit before a branching incident
Recruitment incidents often lead to different knights depending on the choice or party state. Read Recruit Knights and Secret Knights, choose the target, then commit.
17. Keep a simple route notebook
Record the act, cycle, available knights, decisive dialogue, and result for any branch you may revisit. A short record beats mixing memories from two Demon timelines.
18. Follow the wording in your current build
Patches and translations can change a clue or option. Guides help you recognise the decision; the live quest text is the final authority for the version you are playing — especially after Patch 1.0.8.
19. Use achievements as goals, not hidden instructions
Steam’s 75 achievement descriptions can confirm a target such as completing a romance (Love Is All) or unlocking annexes. A short description does not reveal the fastest route — Achievements.
20. Separate official facts from community evidence
Official sources are strongest for names, release features, and broad mechanics. Community guides excel at routes and score math, but should stay tied to build and uncertainty notes. Cross-check facts when pages disagree.
Compact decision checklist
| Before this moment | Check this first |
|---|---|
| Audience choice | Affected groups, Treasury cost, later flexibility |
| Quest assignment | Party size, every listed stat, known attributes, meals, satisfaction |
| Unexpected result | Knight–quest pairing and newly revealed information |
| Demon rewind | What you learned and which earlier decision you will retest |
Related pages
- Best Opening Strategy — week-one habits.
- Cooking Guide — favourite meals and +0.5 score.
- Early Cycles Walkthrough — Cycles 1–5 in order.
- Guides Hub — full index (PC nav shows eight links, then View all).
Slow mornings win more reigns than heroic evenings. Use these tips as a pre-flight checklist, then deepen into scoring math and spoiler routes only when the loop feels natural.
Frequently Asked Questions
Quick answers to the most common questions.
What is the single best beginner tip for Sovereign Tower?
Slow down before each commitment: read the full request, keep a Treasury buffer, compare every listed knight stat, then learn from the result before using the Demon.
Should I rewind after every failed quest?
No. Identify what the failure revealed first, change one factor, then rewind if the cascade would ruin the week. See [Time Rewind](/guides/time-rewind/).
Do knight preferences raise quest success?
Preferences mainly change affinity. Efficient traits and stats change the score. Keep them separate — [Attributes](/knights/attributes/).
Where do I learn the exact quest score math?
Open [Quest Scoring Explained](/systems/quest-scoring/) for party size, averages, meals, traits, and Critical Success bands.